Building a CLI in Node for DevPail
This is the second in a series of articles about building DevPail, my general-purpose development environment tooling tool. You don't have to read the previous article to learn something here, but the context may help you understand what I'm talking about.
The story so far...
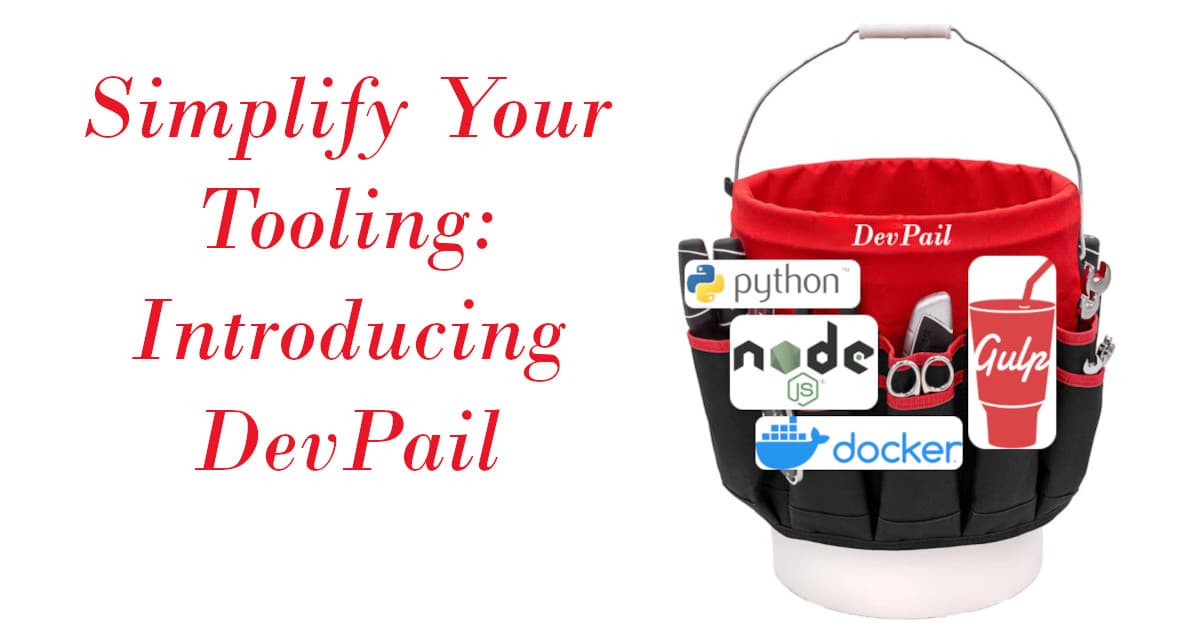
In the first article, I introduced my solution to tooling churn, which is to keep all the tooling for each of my projects into an isolated, transportable environment I'm calling a DevPail. It's a Docker container where the tooling runs, coupled with a volume which holds all the tooling and development artifacts. However, the commands needed to use DevPail are fairly involved, so let's solve that issue today by creating a Command Line Interface (CLI) to handle all these tedious details.
Adding a CLI to the project
DevPail's project directory so far is pretty bare:
devpail/
  - imagesrc/
    - homedir/
    - Dockerfile
Node configuration
Since we've chosen to build or CLI in Node, we need to initialize a Node package:
$ cd devpail
$ mkdir src
$ npm init -y
Here we're creating the src directory to hold our CLI source code, and asked npm to create a package.json.
Coding from 30,000 feet
My habit is to build "kinda" code before actual code. It's real code, but at about 30,000 feet, with zero hope of running. This gives me the basic structure of the code, and a framework I can fill in with the gritty-kitty details as I go.
For DevPail, I'll need to be able to:
- Build the DevPail image; let's call this
devpail --build - Run a shell in the DevPail container for any project; let's call this
devpail --shell - Run the DevPail tooling inside the container for any project; let's call this
devpail
Let's start coding
Let's create a file called src/cli.js to hold this code, and start building that framework. We know that the first thing we have to do is process those command line options, if any.
const status = processOptions()
if (status) {
    console.log(`\nDevPail: ${status}\n`)
}
As promised, this code totally won't work yet. Let's move down one level:
function processOptions() {
    var args = process.argv.slice(2)
    if (args && args[0] === '--build') {
        return buildImage()
    } else if (args && args[0] === '--shell') {
        return runShell()
    } else {
        return runContainer()
    }
}
process.argv contains the entire command line, including the command used to start DevPail, so we slice it out, and check what's left for command line arguments. We always check that there are any arguments at all, and then if the first one is something we want to act on.
In our very simple case, the above works well enough. However, for anything even slightly more complex, you'll want to look into a package such as
yargsto handle your command line arguments.
Now that we have our basic flow in place, we can flesh out the details.
Fleshing out the details
Building --build
We've already know how to build the DevPail image from the command line:
docker build -t devpail imagesrc
Let's adapt that to Node. To run a docker, a shell command, we'll use the child_process module. And to tell docker where the Dockerfile is, we'll need to use the path module. Let's start by including those at the top of our script:
const { spawnSync } = require('child_process')
const path = require('path')
And then we'll Node-ify that command line:
function buildImage() {
    console.log('DevPail: Building image "devpail:default"...')
    spawnSync(
        'docker',
        [
            'build',
            '-t',
            'devpail:default',
            path.resolve(__dirname, '..', 'imagesrc')
        ],
        {
            shell: true,
            stdio: 'inherit'
        }
    )
That path.resolve(...) call uses the inbuilt __dirname constant to get the location of the running script (src/cli.js), and then step up one level, and give us the imagesrc directory in which our Dockerfile is housed.
--build: ✔
Running DevPail with no arguments
I'm going to skip ahead to the third point in the list, for reasons which will become apparent.
You'll recall that rather lengthy command line which runs the container:
docker run -it --rm -v myproject-tooling:/home/pn/app -v ~/myproject:/home/pn/app/src devpail
First Pass
Let's make this easier and a bit smarter.
We'll require that you run the devpail command (the one we're building now) from the root of the project you want to "DevPail-ize", as it were. This means that the current working directory should be the target project's name.
The solution will look much like that for --build, but with a few tweaks. Our first pass will look like:
function runContainer() {
    var project = path.basename(process.cwd())
    spawnSync(
        'docker',
        [
            'run',
            '-it',
            '--rm',
            '-v', `${project}-DevPail-Tooling:/home/pn/app`,
            '-v', `${process.cwd()}:/home/pn/app/src`,
            `devpail:default`
        ],
        {
            shell: true,
            stdio: 'inherit'
        }
}
Handling duplicate project folder names
Of course, you might use the same name for more than one project, but in different sub-trees, so we'll handle that case by adding a hash of the FULL path to the project's directory:
function createProjectName() {
    return path.basename(process.cwd())
        + '-'
        + require('crypto')
            .createHash('md5')
            .update(process.cwd())
            .digest('hex')
            .slice(0, 8)
}

function runContainer() {
    var project = createProjectName()
...
Naming the container
Docker will create a name for each running container from a couple random words which bear no relation to the purpose of the container. Let's make that name meaningful. And while we're at it, let's do the same for the container's hostname, which will be useful later on.
function runContainer() {
    var project = createProjectName()
    spawnSync(
        'docker',
        [
...
            '--name', `${project}-DevPail`,
            '--hostname', project,
            `devpail:default`
        ],
...
}
devpail (no arguments): ✔
Implementing --shell
We can run a shell in our container by way of the --entrypoint argument to the docker command, as in:
docker -it --rm --entrypoint /bin/bash devpail
Of course, the above command line will also need all the other parameters we provided in the section above, and that sounds like --shell is just a special case of the no-arguments version of the devpail command.
Let's revisit processOptions() first:
function processOptions() {
...
    } else if (args && args[0] === '--shell') {
        return runContainer(['--entrypoint', '/bin/bash'])
    } else {
        return runContainer()
    }
}
Now let's handle those arguments in runContainer():
function runContainer(opts = []) {
    var project = createProjectName()
    spawnSync(
        'docker',
        [
...
            ...opts,
            `devpail:default`
        ],
...
}
--shell: ✔
Next Up: making Gulp work
At this point, we can easily build and run DevPail for a project, but it doesn't really accomplish anything just yet.
In the next installment of this series, we'll build out a pluggable GulpJS system that will actually do something useful.
I've made huge updates to the publicly available DevPail project, on both GitHub and NPM. It's evolved considerably since the first article, and I'm using it in production for several projects. So please feel to take a look at it. And then tune back in here to read more about the process of creating this tool!


